Why spend a windy day inside your house when you can go to a park and fly a kite? Kite flying is more than just a pastime on a Sunday. It is also considered a very competitive sport in some countries. In countries such as Thailand and India, kites are a celebration of sorts. In India, people celebrate a festival called Makar Sankranti. This day is the end of winter and the beginning of the spring season, which is also a celebration for farmers as they rejoice in the commencement of a new harvest period.
Advanced kites have multiple lines, which allows the flyer more control over the kite. Fun fact, a person who flies a kite is known as a pilot. So you don’t have to fly a plane or an aircraft to be known as a pilot. You can fly a kite and be known as one.
Kites are not available throughout the year. There is a specific season for kite flying; during winter, it is not easy to fly kites since the environment isn’t suitable for the activity. Clear skies and wind are a must for kite flying.
Contents
Things You Will Need:
- Paper Or Strong Plastic
- Roll Of Electrical Tape
- Line (A Synthetic Thread, Strong And Light)
- Rulers
- Scissors
- Marker
- 2 Hardwood Dowels (About 5mm In Diameter)
- Cardboard Or Piece Of Wood
- Carving Knife Or Small Wood Saw
Steps:
Draw Your Kite Design

Smoothen out your paper or plastic on a flat surface, fold your material in half, and mark three dots in an isosceles triangle shape. Now connect the three dots using a ruler and marker pen. Flip over the material and trace the same triangle shape on the other side.
Cut Out The Design

Using a sharp pair of scissors, cut along the lines you have drawn to keep the paper folded. Once you have cut out along the two sides, open the folded paper or plastic to reveal a kite shape. Also, do not throw away the leftover paper or plastic.
Build The Structure

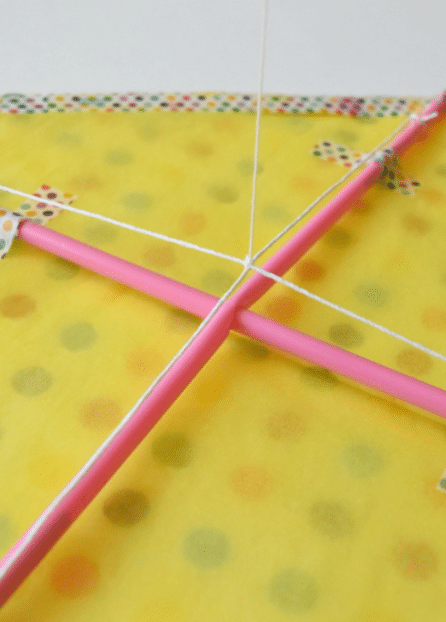
Take the two wooden dowels and place them along the length and breadth of your kite. Lay one dowel in the center of your line in a vertical position, trim the dowel so that it is the exact length of your kite. The other dowel should be along the left and right corners of the kite. You should end up with a T-shaped structure. Tape the laid dowels to the kite.
Attach The Line

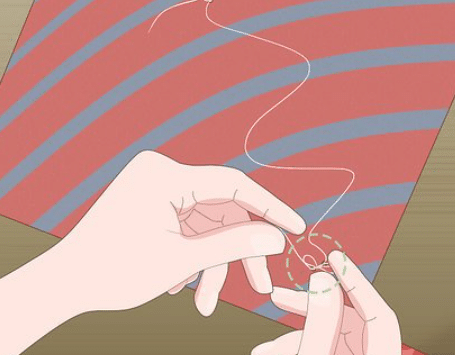
Your line is the piece of three that allows you to control your kite. Poke two holes at the top of your kite at the point where the two dowels meet and the other two holes at the bottom of your kite. Base means four to five fingers above the tail of the kite. Measure out your thread according to the distance between your top and bottom holes and tie one end through the top spots and the other to the bottom holes. You can also put some tape on the knots so that they do not move.
Add The Tail

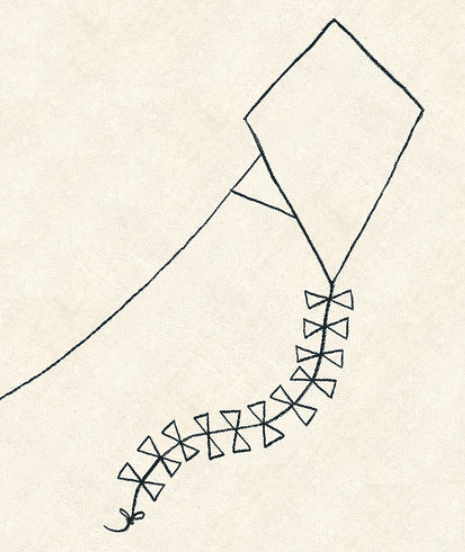
With the leftover paper, make a long tail. It should be twice the length of your kite. Attach the tail at the bottom of your kite, at the end of the vertical dowel. Attach it firmly, and voilà, there you have your very own kite. Now it’s time to go out in the park during a windy day with a clear sky and fly your kite.
Conclusion
There you have it, a step-by-step guide to help you build your kite. There are numerous ways you can make a kite, so try what suits your craft skills. Meanwhile, enjoy flying your kite.


